Oregon Night Star Photography
Oregon night star photography is one of the highlights of the summer and fall season for us. We go other times of the year to for those incredible starry nights, we just suffer a little more, but hey, that’s why God made hot chocolate (and peppermint schnapps If you’re not the driver.)
The Oregon Observatory At Sunriver
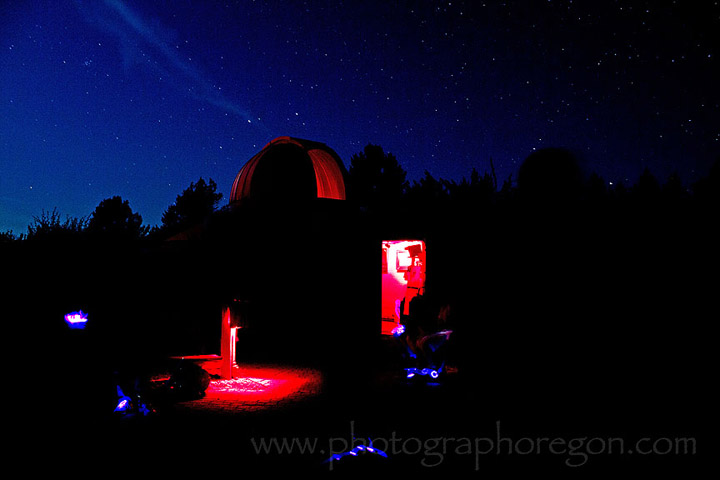
The staff at The Observatory is amazing. It all started at a star party in Prineville, where other than the sun, which is technically a star, I saw NO STARS. We went and it was horribly cloudy by nighttime. However, the first time I saw the sun with its sunspots in Thomas’ telescope, I was hooked...... To read more please visit the Oregon Observatory At Sunriver page.
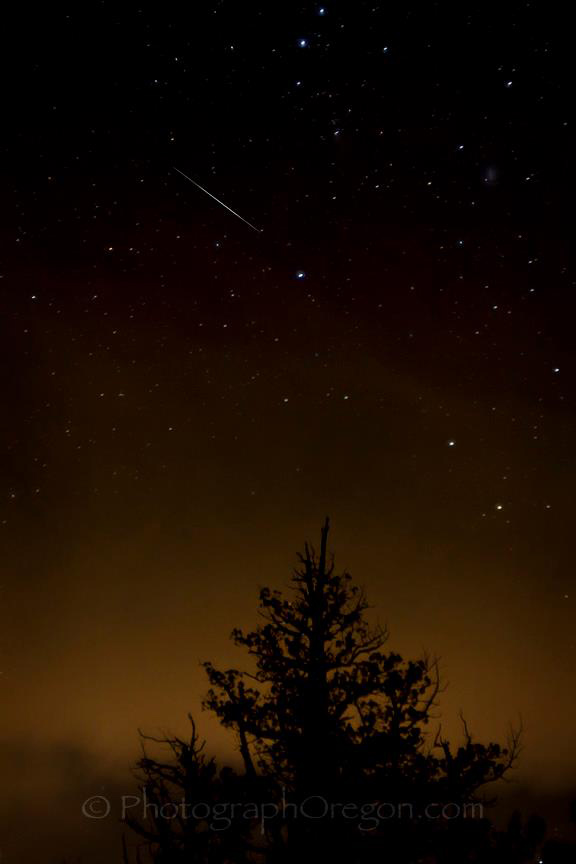
The Badlands in Central Oregon is a fantastic place to shoot stars. This image is during a meteor shower looking back towards the lights of Bend.
I was out with Jim David from ONDA. It was quite the awesome night.
I would not advise going out alone unless you are very familiar with the Badlands, It's easy to get lost and there can be some unsavory characters (Not Jim David)out there in some of the areas.
There are a lot of great features for light painting. Brad Goldpaint does it way more justice than I do. Brad Goldpaint's Badlands.
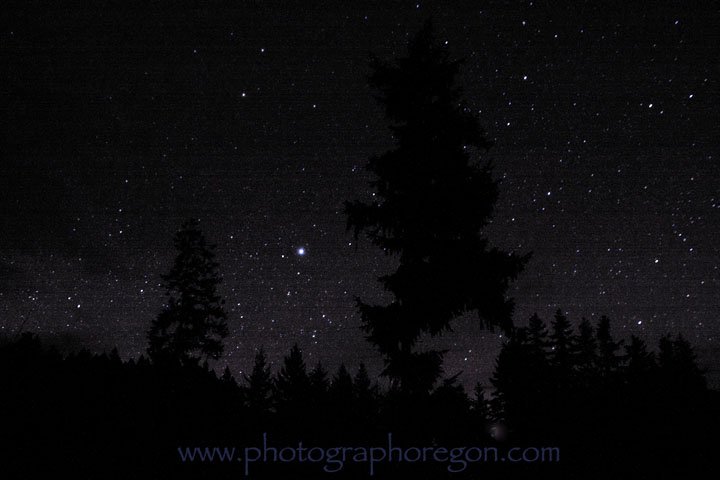
One of my first night star shots I got while we were out fruitlessly searching for owls at the Oakridge Audubon Bird Count.
I think all the owls got the memo, but I was happy with the stars.
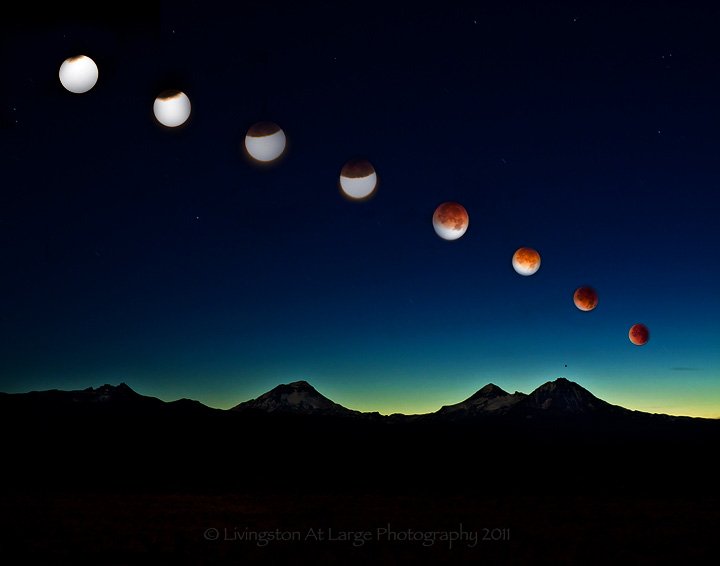
The last two years in December we've been fortunate to witness lunar eclipses. December 20, 2010 we got to see the whole thing but it was 10 degrees so it was tough.
This year it was a balmy 22 degrees but during the second half of the event the moon was slipping beyond the horizon as the sky lightened.
There are many great locations where the light pollution is low and you can do some great starry night shoots, using extended, or long exposure techniques, for me, many of them very close to Bend. The Badlands, Smith Rock State Park, Tumalo Falls, Cascade Lakes Highway and The Observatories to name a few.
Any place that has a wide expanse of sky with minimal light pollution (meaning away from houses with lights, the city, things like that) is going to be suitable to play around with some long exposure night star photography. Waterfalls are a great enhancer because the water picks up the moonlight and gives you some dramatic results.
Smith Rock State Park
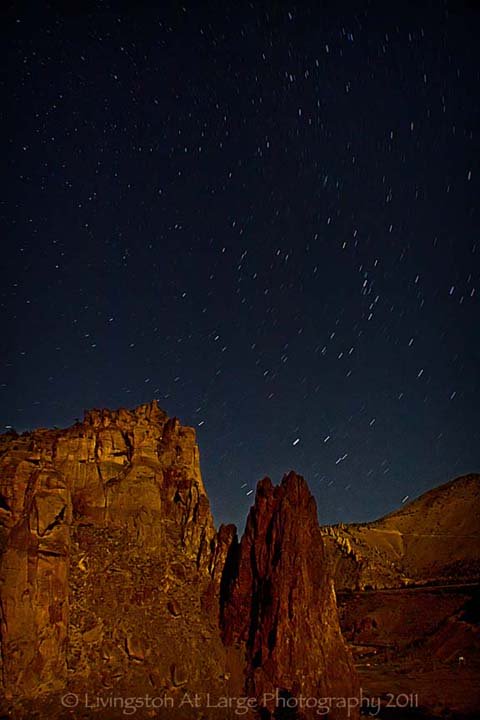
I like Smith Rock State Park for long exposure star photography because it gets less snow than Tumalo Falls and Sparks Lake, making it more accessible year round.
This night there was a lot of moonlight so we didn’t have to do any light painting. We had a honking HUGE flashlight? (Make that SPOTLIGHT) that actually with it’s 11” lens lit up the walls of the canyon fantastically, but we didn’t need it this night. (COSTCO $47.99).
For this night star photography shoot I used a variety of lenses. For many of the shots I used my 18-55 kit lens with my $30 screw on the front wide angle adapter thingy. I really need a decent wide-angle lens, but a trip to Alaska ate that up (and it was worth it). This works.
Now I have some super fast FD Lenses that will really help. I just need to go there and use them.
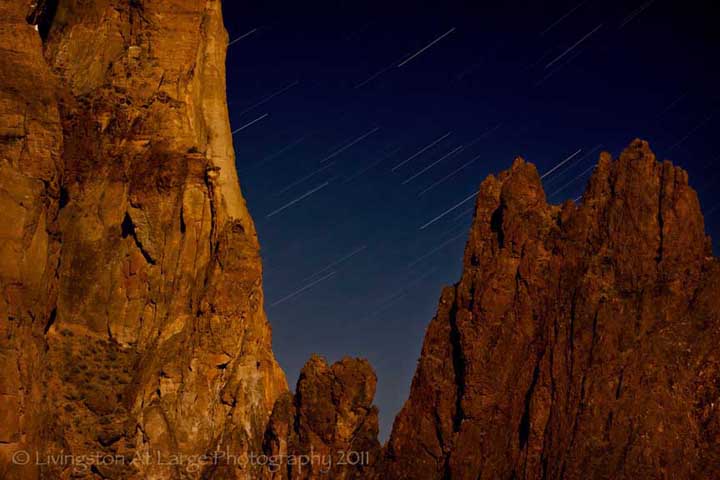
For this next shot I went in close with my Tamron 70-300SP and left it open for 10 min 10 sec. I’m happy with the star trails and the closeness of the rocks.
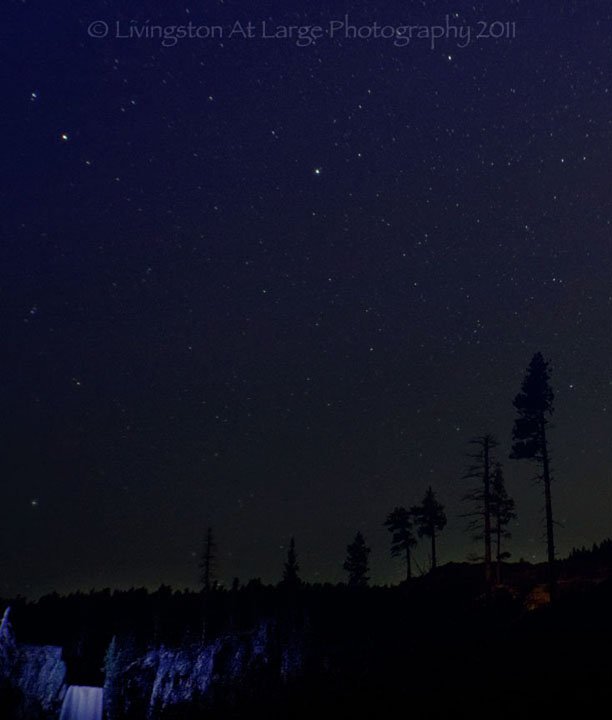
Tumalo Falls
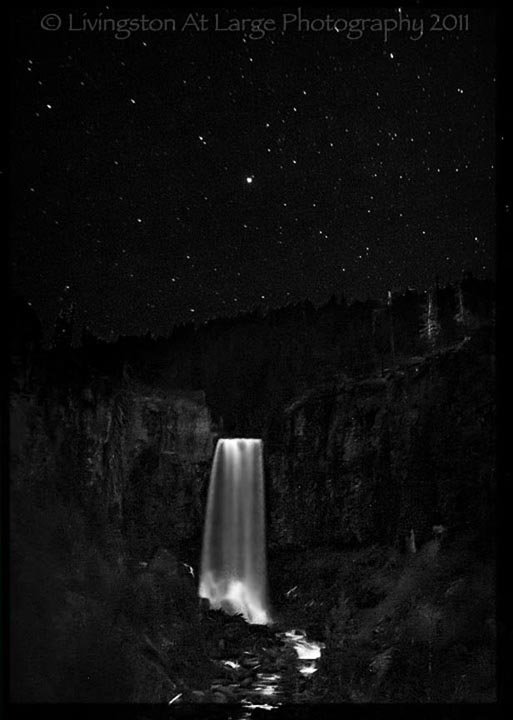
When we did this night star photography at Tumalo Falls we never saw the moon, which makes it a little more difficult, because for starry night shots you usually have to use your manual focus and the moon is a nice tool to have to set your focus by. So, in this case we had to spotlight a tree in the distance to set the focus.
This shot is s composition of two shots. In order to get the falls lit well the exposure had to be long, like 10 minutes long, which causes the stars to trail quite a bit. I wasn’t happy with the trails, they looked a little mushy, so I shot the sky on a 15 second shot and blended the two images. I found that the competing colors were a little too much and played around with black and white conversion and I really liked the outcome.
This next shot I couldn’t see anything and so it was a nice surprise when I got home. I was shooting for the tree silhouettes and stars but someone else was light painting the falls from the top of them and it got caught in the bottom corner.
Sisters Mountains
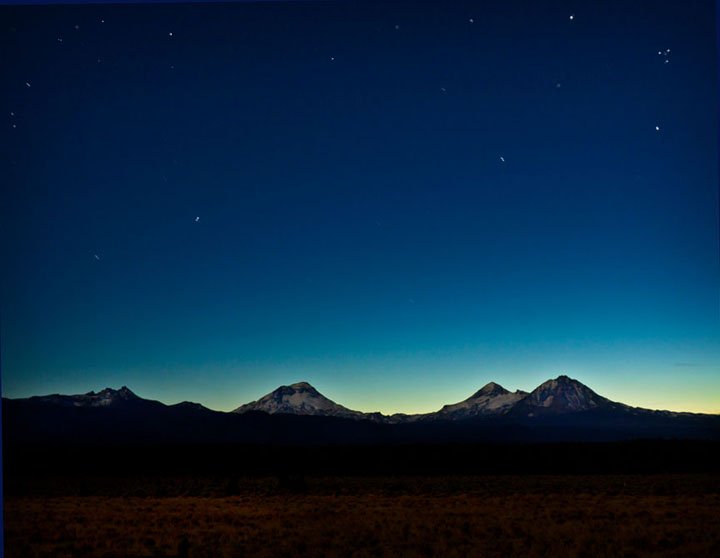
The Sister’s Mountains Viewpoint is on highway 20 east of Sisters past Tumalo.
This is a great location for all kinds of star shots even thought there is some light pollution behind you from the highway.
This first bit of night star photography was done in a friend’s back yard with a similar view as the Sister’s viewpoint.
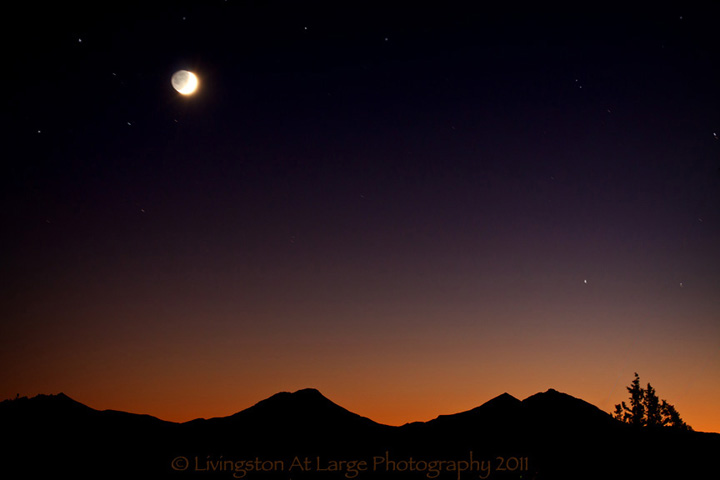
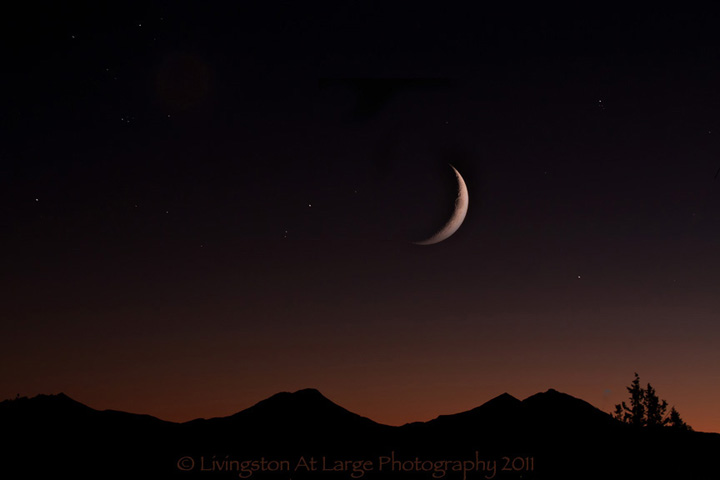
It started with the moon up high, an as you can see, a lot more light, so the extended exposure caused the rest of the moon, which to my eye looked only a crescent, to reveal itself.
As time wore on and the moon dropped, I used less time, and in this case two photos as in order to get the light on the mountains and not have the moonlight too much there needed to be a blend of images. So, the moon got shot on a very short exposure and the mountains longer to get that nice rich glow.
Sparks Lake
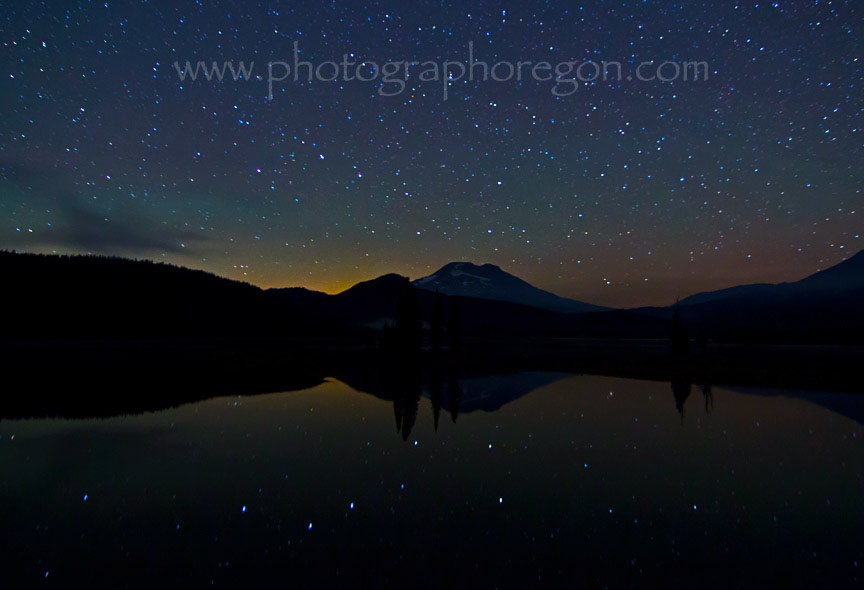
Still high on the list of "Favorite Pictures Ever Taken" I ran up by myself one night to Sparks Lake after begin told a few days before that there had been an M Class solar flare that might produce some aurora colors.
I had a beautiful rental lens that I had to send back the next day, so it was now or never.
I didn't get too much color banding, but the reflection of the Big Dipper in the lake was a superb consolation.
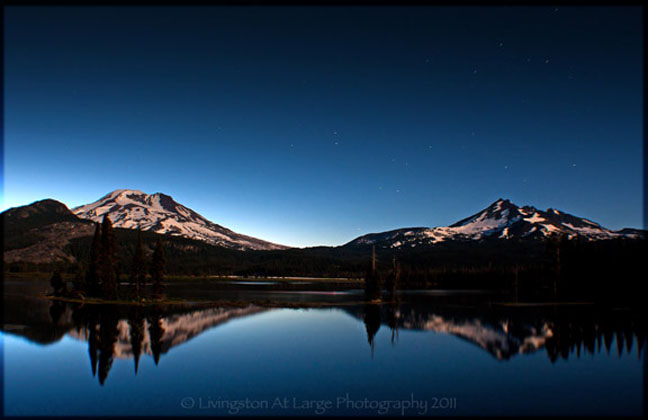
This little night star photography scene can only be done under certain conditions. The moon needs to be close to full, and it is good to have some snow on the mountains…….and the road needs to be open. After that, it’s a piece of cake.
The sun has to be all the way down or the glow over the mountains blows everything out. Sun down, moon up behind you shining on the snow. This was taken on July 14 at 9:13PM.
This was not too extended of a shot. 61 seconds F7 and ISO 400. Two minutes also brought some interesting results.
Cascade Lakes Highway
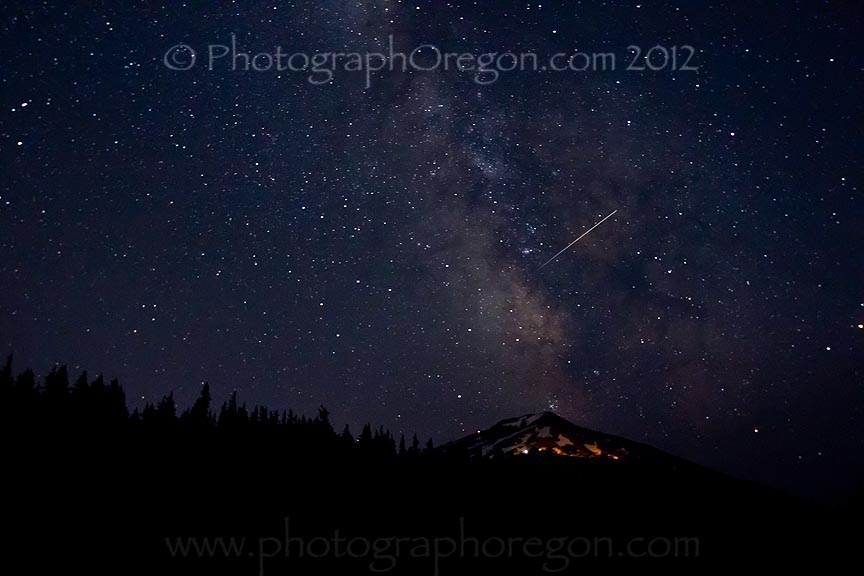
The Cascade Lakes Highway has many great stops night star photography. This is a field right across from the entrance trail to Todd Lake. Looking back on Mt. Bachelor.
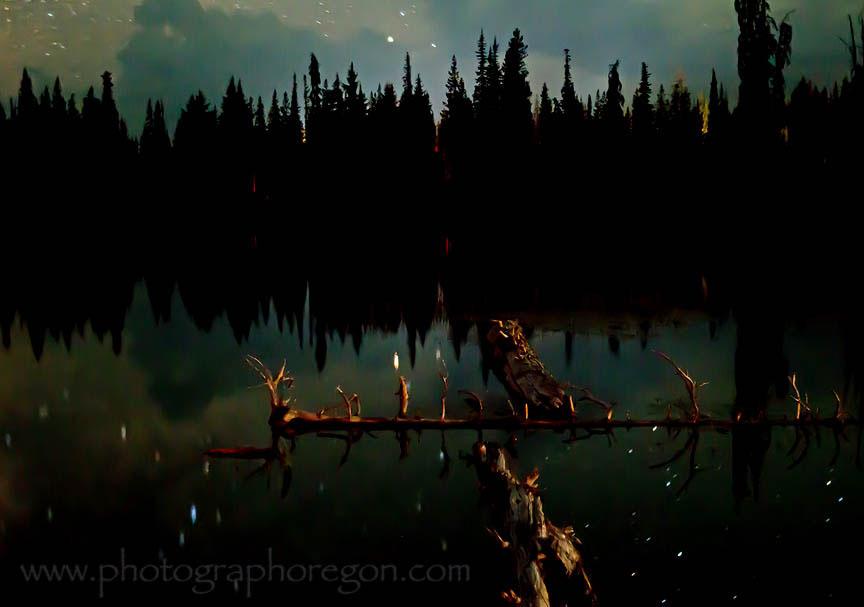
A little further up the road on The Cascade Lakes Highway from Todd Lake is Devil's Lake. This is a nice spot because trucks come along and do the light painting for you.
Both of these shots I got while part of Brad Goldpaint's Workshop.
I highly recommend them and here is my testimonial!
"Brads low-key, unintimidating style of teaching makes the perfect workshop for everyone from the seriously novice to the high end pro wanting to
Not only did we have a lot of fun, we learned a lot at a pace that was comfortable for everyone. He covers things you would never even think of.
I left the workshop confident enough to go right out the next night and make the most of my rental lens.
I was as excited about the post-processing session as the shooting session and my expectations were exceeded in both areas. All I can say is, if you really want to learn some magical ways to step out of your normal photographic routine, take a workshop from Brad."
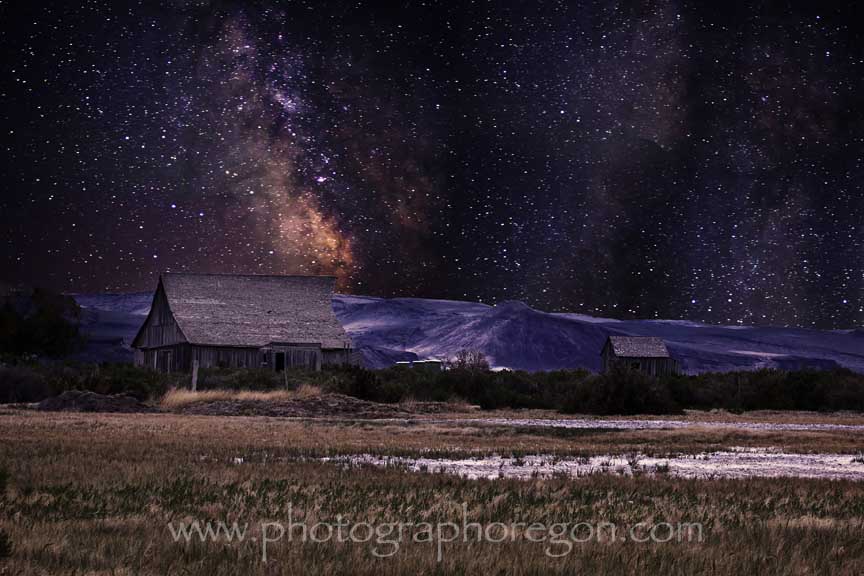
Balancing Rocks
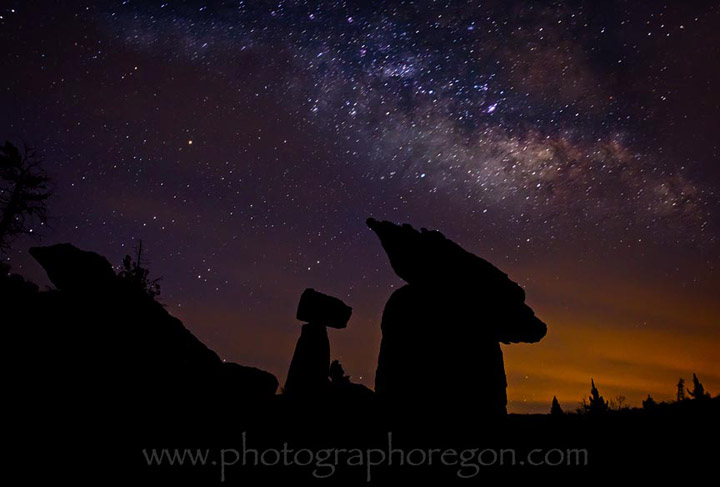
One of my favorites for night star photography (or any photography), The Balancing Rocks are a superb place to get star shots. We took a picnic, watched the sunset and then, wow, what a show!
Places still on my wish list to try (fairly) locally for me. As I get there, I’ll share. If you get there first….you share :)
Millican (ghost town east of Bend)
Shaniko (ghost town north-east of Bend
Grass Valley Church (awesome abandoned church north-east of Shaniko)
Tips for night star photography:
Bring: (besides the obvious like, your camera, batteries and chips)
Tripod (must have)
Shutter release cable (you can use a timer but cable is MUCH better)
Extra batteries
Flashlight (to keep you from getting hurt on the trails or worse, damaging some equipment….and for light painting in areas that need a little and/or grabbing a focus point.)
Patience (lots of it).
An extra set of all of this might make you happy if you have it, as most cameras with the noise reduction on (which you will need) take as long to process the image as they do to shoot it. So, if you’re shooting 10 minute exposures and it also takes 10 minutes to process, in a couple of hours you are only going to get……(do the math people)………6 images. If you have two set ups you can play more while each camera is processing.
If you don’t know how, read your manual on how to lock up your mirror. Very handy to have that knowledge and much needed for night star photography.
Play around with your ISO and time. I’ve had good luck as low as 400. ISO) 1600 is a nice setting but in my camera is the max, so I get a lot of noise. I usually shoot at F7 or 8 but not higher. Things just get muddy.
You have to focus manually because when it is that dark, auto focus doesn’t work.
When your camera is on the tripod shut off any vibration reduction settings on your lens. (Canon IS, Nikon VR) I couldn’t figure out why I was getting such blurry images out of such a nice lens. ***duh*** it was trying to do it’s job when it didn’t need to.
If the wind is blowing and you have a strap on the camera, secure it somehow or take it off.
Have a great time!
♫ ♪ ♫ Happy Star Trails to you! ♫ ♪ ♫
Have Some Great Images for This Topic
Do you have some great images and/or tips for this topic?
What Other Visitors Have Said
Click below to see contributions from other visitors to this page...
night sky 
like at nights you can see the stars as well as the moon changing part of a Quarter of the moon and it is so very lovely at nights as well. from Wendy …
Brad Goldpaint's Night Star Photography-THE BEST!
Dan Newton's Advanced Night Star Photography Tutorial